
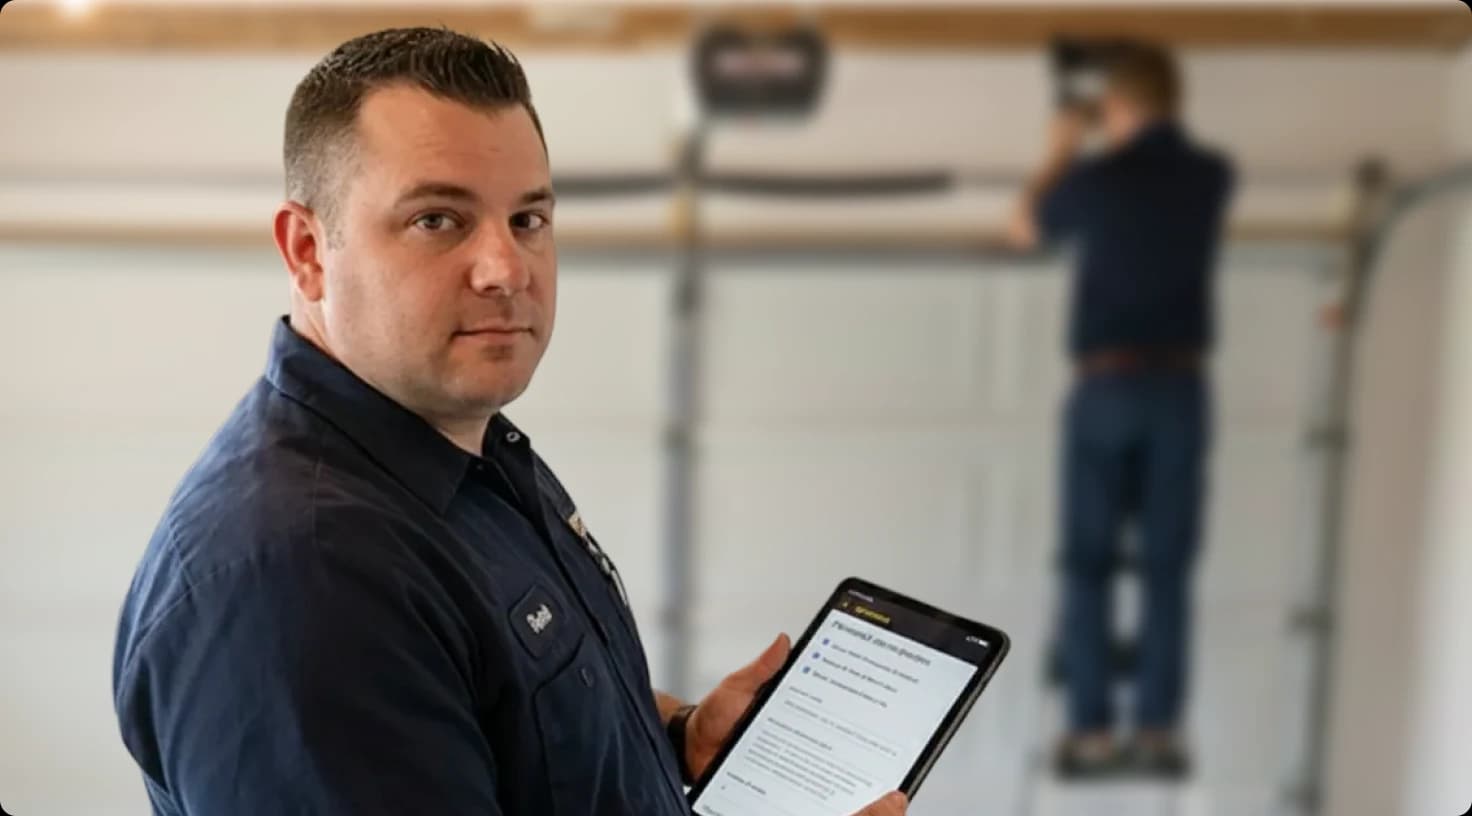
Why regular garage door inspections are essential
Regular inspections aren't just a best practice—they're a necessity for safety and longevity. Garage doors are heavy, often weighing hundreds of pounds, and involve high-tension components that can fail unpredictably. According to the Door & Access Systems Manufacturers Association (DASMA), improper maintenance contributes to thousands of injuries annually. A thorough service checklist mitigates these risks by identifying wear and tear early.
Benefits for technicians and сustomers
For technicians, a standardized checklist ensures consistency across jobs, reduces liability, and streamlines reporting. Customers benefit from safer operations, fewer emergency calls, and optimized performance. Implementing this checklist can improve efficiency, allowing you to complete more services per day while upholding high standards.
Safety first: Detects hazards like frayed cables or misaligned sensors before they cause accidents.
Cost savings: Prevents minor issues from escalating into major repairs, saving time and money.
Compliance: Aligns with industry standards from organizations like ANSI and UL for certified installations.
Customer loyalty: Demonstrates professionalism, leading to repeat business and referrals.
For further reading on industry standards, visit the DASMA website, which provides guidelines on safe garage door operation.
Frequency recommendations
Inspect residential garage doors at least twice a year, or more frequently for high-use commercial doors. Seasonal checks—spring and fall—are ideal to address weather-related wear. Always document findings to track maintenance history.
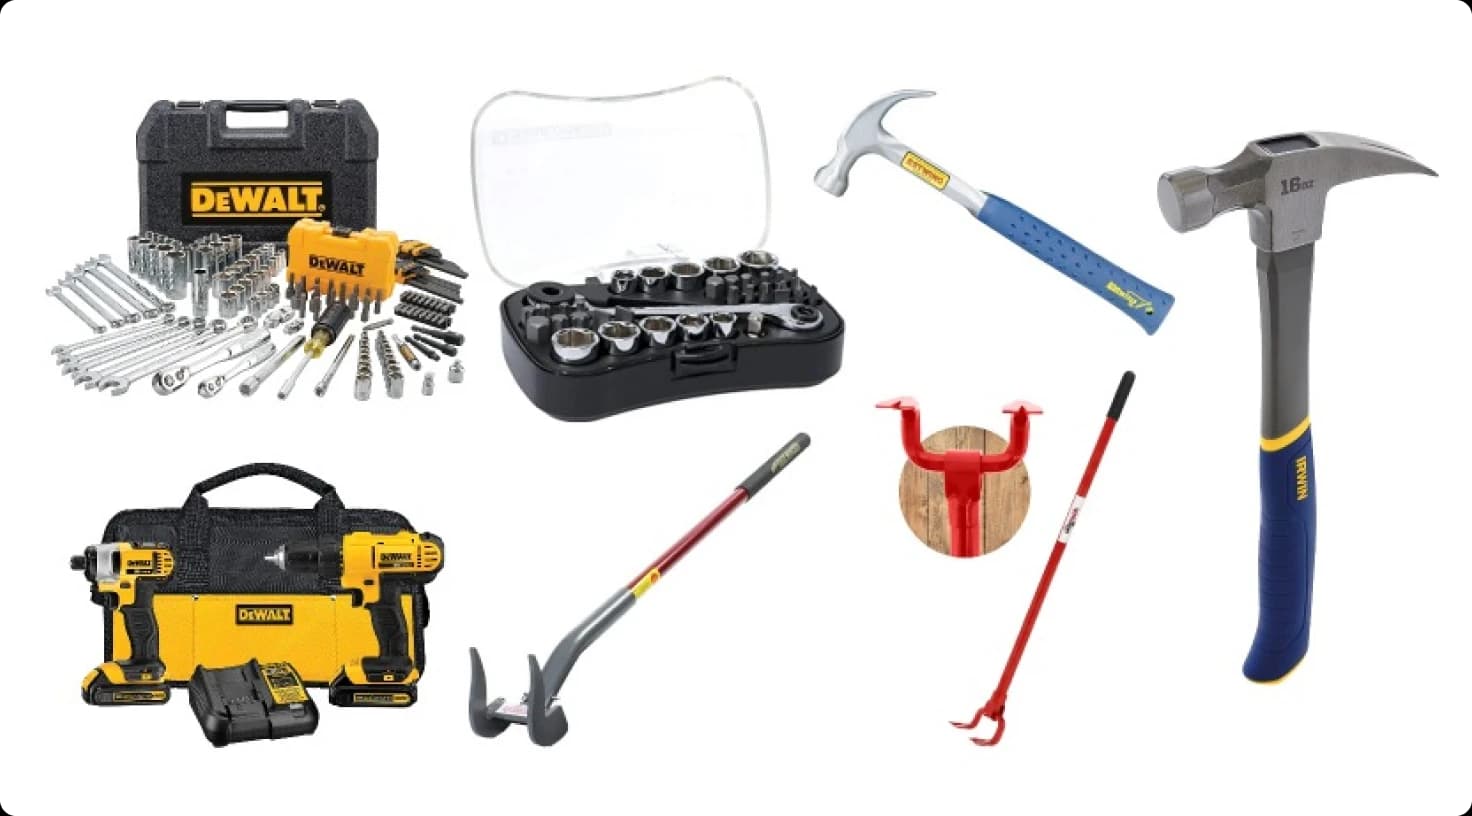
Tools and preparation for a thorough inspection
Before starting any inspection, gather the right tools to ensure accuracy and safety. A well-prepared technician can perform a complete assessment efficiently, covering visual, mechanical, and electrical components.
Essential tools checklist
Tool | Purpose | Notes |
|---|---|---|
Ladder (stable, non-conductive) | Access high components like springs and tracks | Ensure it's rated for your weight plus tools |
Flashlight and headlamp | Illuminate dark areas for detailed inspection | Use LED for longevity |
Torque wrench | Check tension on springs and fasteners | Calibrate regularly for precision |
Multimeter | Test electrical connections and opener voltage | Essential for troubleshooting sensors |
Measuring tape | Verify alignments and clearances | Include a level for track straightness |
Safety gear (gloves, goggles, harness) | Protect against hazards | Mandatory for spring work |
Digital checklist app or printable PDF | Document findings on-site | Fillable PDF available for download (see below) |
Pre-inspection preparation
Review the customer's service history and any reported issues.
Disconnect power to the opener for safety during mechanical checks.
Clear the area of obstacles and warn occupants to stay clear.
Inspect from a safe distance initially to assess overall condition.
Preparation sets the tone for a professional visit. Always communicate with the customer about the process to manage expectations.
For safety guidelines, refer to OSHA's resources on ladder and electrical safety at OSHA.gov.
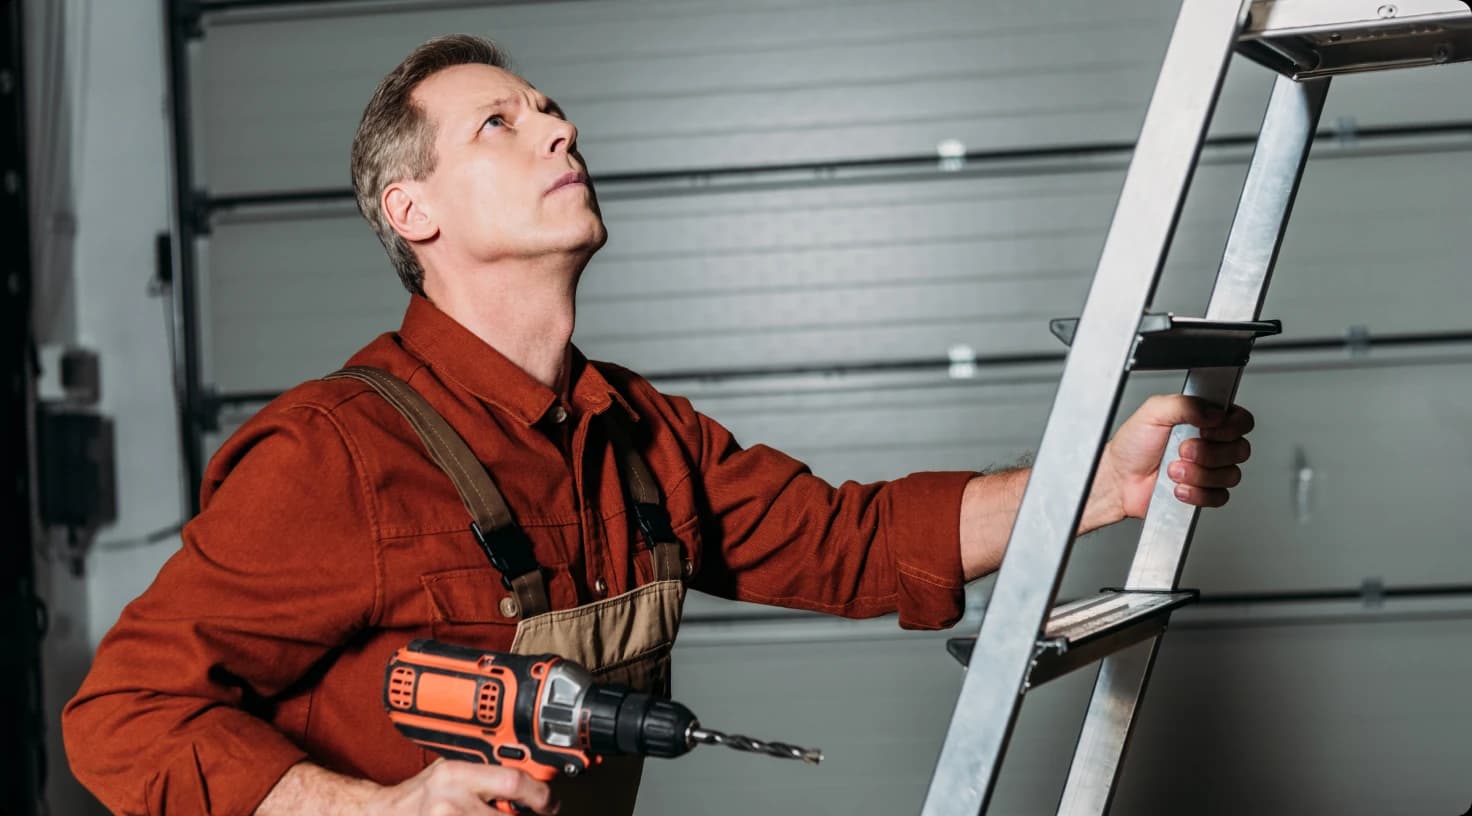
Visual inspection: The first line of defense
A visual inspection forms the foundation of any garage door service. It allows technicians to spot obvious issues without disassembly, saving time and preventing overlooked problems. Spend 10-15 minutes on this step, examining the door, frame, and surrounding areas.
Exterior and structural checks
Door panels: Look for dents, cracks, or warping. Wooden doors may show rot; metal ones could have rust. Ensure panels align evenly without gaps.
Tracks and rollers: Check for bends, debris, or misalignment. Vertical tracks should be plumb, horizontal ones level.
Weatherstripping and seals: Inspect for tears or compression. Proper seals prevent energy loss and water intrusion.
Frame and mounting: Verify brackets and bolts are secure. Look for signs of settling or structural damage to the garage opening.
Interior visual assessment
From inside the garage, examine the door's operation path. Ensure at least 18 inches of clearance above the door when open. Check for loose hardware or unusual wear patterns that indicate imbalance.
Component | Inspection сriteria | Pass/Fail indicators |
|---|---|---|
Door balance | Lift door manually halfway; it should stay in place | Pass: Stable; Fail: Drops or rises |
Track alignment | Use level to check straightness | Pass: Within 1/8 inch; Fail: Bent or loose |
Hinges | Look for wear or binding | Pass: Smooth movement; Fail: Cracks or rust |
Document photos of any concerns for your records and customer reports. This visual step often reveals 80% of issues before deeper dives.
Mechanical components: Springs, cables, and hardware
The mechanical heart of a garage door lies in its springs, cables, and pulleys. These high-tension elements store energy to lift the door smoothly. Inspecting them requires caution—always wear protective gear and never adjust without proper tools.
Springs inspection
Springs counterbalance the door's weight. There are two main types: torsion (wound on a shaft) and extension (side-mounted). Torsion springs are more common in modern setups and pose higher risks if mishandled.
Visual check: Look for gaps in coils (indicating wear), rust, or cracks. Measure wire diameter for thinning.
Tension test: Use a tension meter or winding bars to assess balance. Uneven tension causes uneven lifting.
Age and cycles: Springs last 10,000-30,000 cycles; estimate based on usage. Replace if over 10 years old.
Warning: Spring replacement is dangerous; technicians should be certified. For training, see DASMA's certification programs at DASMA Education.
Cables and pulleys
Cables (lift ropes) connect the door to the springs. Frayed or kinked cables can snap, causing severe injury.
Inspect for frays, rust, or slippage at drums.
Ensure cables are equal length and properly seated.
Check pulleys for smooth rotation; lubricate if dry (use white lithium grease).
Other hardware
Bolts and nuts: Tighten to manufacturer specs (typically 20-30 ft-lbs).
Rollers: Nylon rollers wear faster than steel; replace if grooved or cracked.
Struts and bracing: Ensure reinforcement on lighter doors to prevent bending.
A detailed mechanical checklist ensures these components operate in harmony, preventing failures that could lead to door collapse.
Electrical and safety features: Sensors, limits, and more
Modern garage doors rely on electrical systems for automation and safety. Inspecting these features prevents malfunctions that could trap vehicles or injure people.
Safety sensors (photo eyes)
These infrared sensors reverse the door if an obstruction is detected, a requirement under UL 325 standards.
Alignment: Beams must cross uninterrupted; clean lenses and check wiring for damage.
Function test: Wave an object in the path; door should reverse immediately.
Wiring: Inspect for frays or loose connections; voltage should be 5-24V DC.
For UL compliance details, refer to UL Standards.
Limit switches and force settings
Limit switches control open/close positions; improper settings cause slamming or incomplete travel.
Component | Inspection steps | Common issues |
|---|---|---|
Limit switches | Adjust so door stops 1-2 inches from floor/ceiling | Misadjustment leads to wear on opener |
Force adjustment | Test with obstruction; set to minimum force needed | High force bypasses safety reverses |
Auto-reverse mechanism | Place a 2×4 under door; it should reverse on contact | Failure requires immediate repair |
Remote controls and keypads
Test all remotes for range (up to 100 feet) and battery life. Program new ones securely to prevent unauthorized access.
Electrical inspections safeguard against fires or shocks. Always de-energize before working on wiring.
Opener and motor: Powering smooth operation
The garage door opener is the system's brain, typically chain, belt, or screw-drive. Inspecting it ensures reliable performance and energy efficiency.
Motor and drive system
Motor condition: Listen for unusual noises like grinding; check for overheating.
Drive chain/belt: Inspect for slack, rust, or wear. Tension should allow 1/2 inch deflection midway.
Sprockets and gears: Look for stripped teeth; lubricate moving parts sparingly.
Programming and features
Verify wall console functions: light, lock, and vacation modes.
Check battery backup if equipped; test during power outage simulation.
Update firmware for smart openers via manufacturer app.
Popular brands like Chamberlain or LiftMaster recommend annual opener inspections. See their manuals at Chamberlain's support site.
A well-maintained opener reduces noise and extends life to 10-15 years.
Testing and full operation cycle
After component checks, perform operational tests to verify everything integrates correctly. Cycle the door 5-10 times, observing for smooth, quiet movement.
Step-by-step testing procedure
Manual operation: Disconnect opener and lift door by hand; it should move freely with minimal effort.
Automated cycle: Operate open/close remotely; note speed, noise, and stops.
Safety reversals: Test photo eyes and force reversal as per UL standards.
Emergency release: Pull cord to disengage; ensure quick reconnection.
Noise and vibration: Identify rattles or squeaks; tighten or lubricate as needed.
Troubleshooting during tests
If the door binds, check track lubrication (silicone spray, not WD-40). For slow operation, balance the door first. Log all test results in your fillable PDF checklist.
Door won't open: Check power, limits, or thermal overload.
Inconsistent reversal: Recalibrate sensors or force settings.
Noisy operation: Inspect rollers and bearings.
Thorough testing confirms the system's safety and functionality, giving customers peace of mind.
Documentation and customer reporting
Effective documentation turns a good service into a great one. Use a fillable PDF checklist to record findings, recommendations, and actions taken.
Key elements of reporting
Before/after photos: Visual proof of issues and repairs.
Measurements and readings: Torque values, voltages, etc.
Recommendations: Prioritize urgent vs. preventive maintenance.
Customer sign-off: Ensures agreement on work performed.
Digital tools like apps (e.g., ServiceTitan) can automate this, but a printable PDF remains versatile. Share a summary with the customer, explaining next steps.
Report section | Content | Purpose |
|---|---|---|
Inspection summary | Pass/fail for each component | Quick overview of condition |
Repairs performed | Details of fixes and parts used | Accountability and warranty info |
Future maintenance | Suggested schedule | Proactive care planning |
Professional reporting enhances credibility and supports insurance claims if needed.
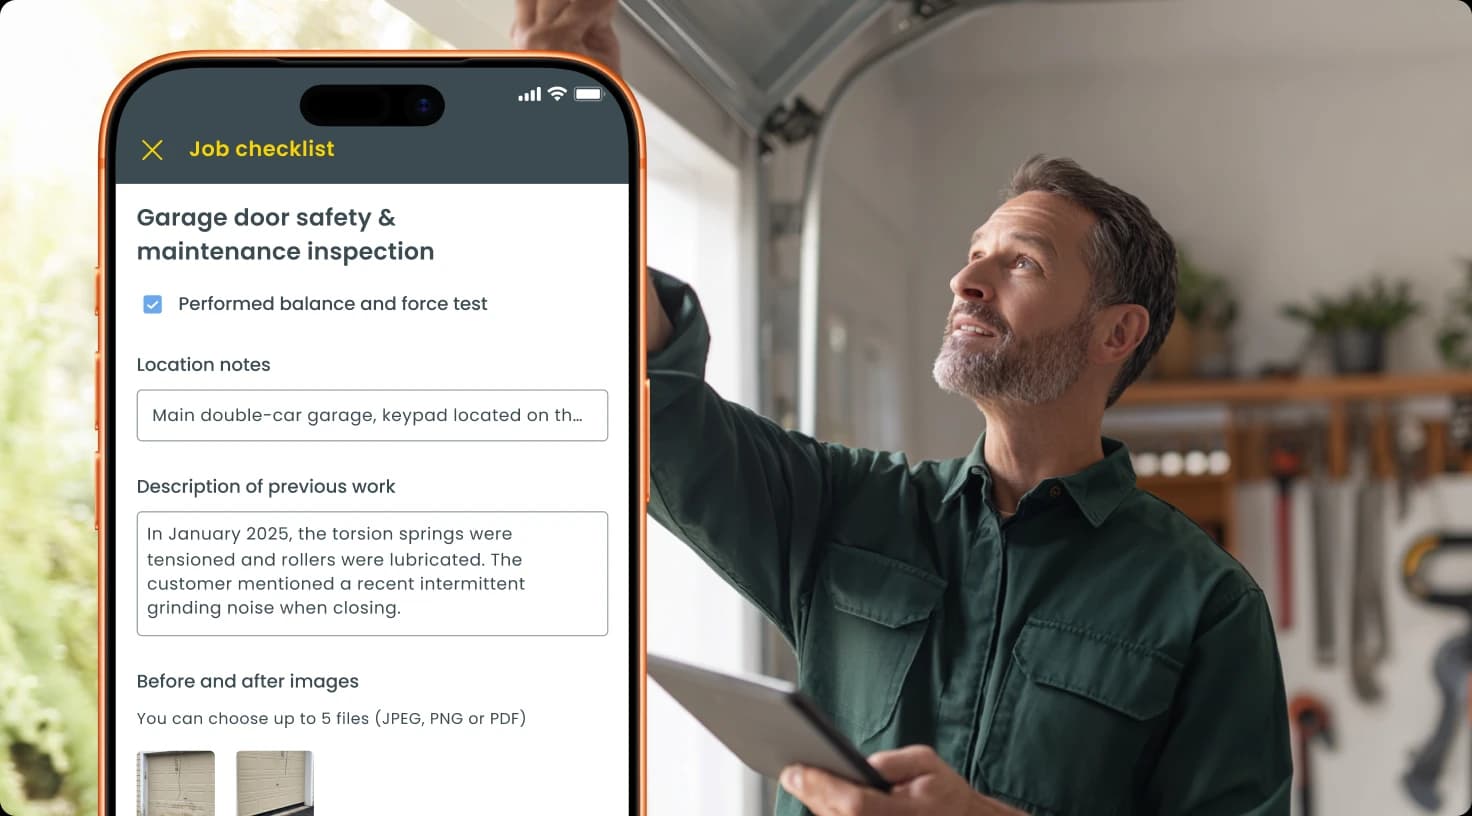
Take your documentation from good to great with Workiz
You're already capturing photos, measurements, and recommendations – Workiz turns that into a completely digital, professional experience in seconds:
Fillable digital checklists & job forms (no more printing PDFs)
Attach before/after photos directly to the job
Generate branded inspection reports with one tap
Get customer e-signatures and send copies instantly
Automatically schedule the next tune-up and track recurring revenue
Garage door pros using Workiz save hours on paperwork, get paid faster, and turn every inspection into a 5-star review. See why thousands of garage door companies trust Workiz – start your free trial or visit our Garage door software page to learn more
Common issues and quick troubleshooting
Even with checklists, issues arise. Here's a guide to frequent problems encountered during inspections.
Top 5 common problems
Frayed cables: Cause: Wear from cycles. Fix: Replace both sides; balance springs.
Misaligned sensors: Cause: Bumped or dirty. Fix: Realign and clean; test reversals.
Worn springs: Cause: Age/overuse. Fix: Professional replacement only.
Opener overload: Cause: Obstruction or imbalance. Fix: Adjust force; lubricate.
Track debris: Cause: Environmental. Fix: Clean and straighten tracks.
For in-depth troubleshooting, consult the International Door Association's resources at Doors.org.
Preventive measures
Educate customers on avoiding DIY adjustments and scheduling biannual services. This reduces callbacks and positions you as a trusted expert.
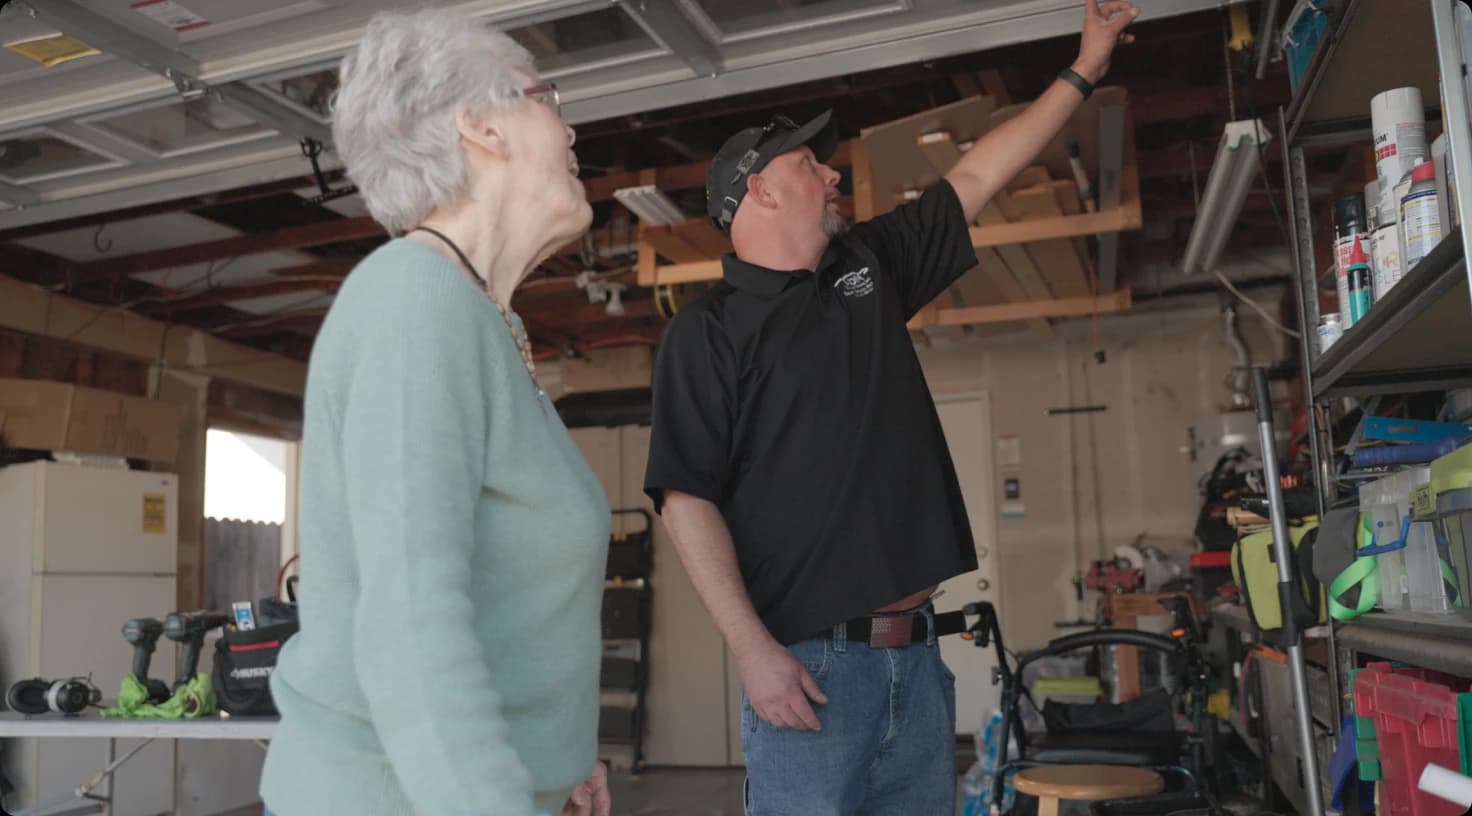
Safety tips for technicians and homeowners
Safety is paramount in garage door service. These tips protect everyone involved.
For technicians: Never stand under a door during testing. Use lockout/tagout for power sources.
Spring handling: Only certified pros adjust torsion springs; use winding bars properly.
Electrical safety: Test GFCI outlets; avoid wet conditions.
For homeowners: Keep hands clear of moving parts. Test safety features monthly.
Emergency prep: Know how to manually release the door and call professionals for issues.
Adhering to these ensures inspections are incident-free. For more, see CPSC's garage door safety guide at CPSC.gov.